Wavecast
  • Start here
  • Events
    • Getting started
    • Setup your first event
    • Copy an existing event
    • Publish an event
      • Speakers
      • Sponsors
      • Resources
      • Testimonials
      • Copy
  • Publishing
    • Agendas
    • Create content
    • Control access
      • Adding Tickets, Passes & Guest Passes
        • Coupons: Schedule, manage and promote
        • Adding and Updating ad-hoc Coupons
        • Approval/Declining Process of Registration Requests
        • Guest list to invite contacts and track responses
        • Approval/Declining Process of Guest Passes
      • Hard and Soft Limits
      • Managing opt-ins
      • Metering
      • Extra Fields for Content
      • Import users
      • Email Lists
    • Classify & personalise
      • Create & configure taxonomies
    • Custom Headers
      • Headers
      • Templating Language
    • Shortcodes
      • Access Settings
      • Content
      • Content with Search Bar
      • Event Manager
      • Events with Search Bar
      • Full Width Carousel Slider
      • Countdown
      • Buttons
      • Popular Now
      • Engagement Tools
      • Events
      • RSS Feeds
    • Images
    • Widgets
    • Ad Banners
  • Emails
    • Create a campaign
      • Customise Email CTAs
      • Building Complex Emails
      • Email Segmentation
      • Email Templates
    • Organise contacts
      • Add email addresses to Lists
      • Send a campaign to a list
    • Advanced Emails
      • Send an event campaign to hub audience
      • Adjust user email preferences
      • Change reply-to email address
    • Campaign Reports
      • Link Clicks
      • Suppressed
      • Recipients
      • Inflated Clicks & Opens
  • Live
    • Engage audiences
      • Audience Q&A
      • In-Feed Graphics
      • Polls
      • Quotes
      • Related Content
      • Networking
      • Meeting Rooms
    • Deliver live content
      • Slides
    • Troubleshooting for audiences
    • Remote Production
      • Live Broadcast
        • Book a live broadcast
        • Prepare for a live broadcast
      • Enterprise Streaming Support
        • Conduct a stream test
      • Video & Audio Production
        • Book remote video production
        • Prepare for remote video recording
    • On-Site Production
    • Check-in App
  • Analytics
    • Dashboard
    • Engagement Report
      • 2024 (BETA)
    • Google Analytics
    • Cookie Management
    • Page Views
    • User Data
    • Guest Passes
  • Settings
    • Configuration
    • Fonts, Colours & Logos
    • Hub Header & Footer
    • Custom Domain
      • Update GoDaddy DNS
    • Search & Metadata
    • System Messages
    • Access Control
      • Admin Accounts
      • Progressive Profiling
    • Global Event Settings
    • Default Templates
  • Integrations
    • Marketing Automation
      • Marketo
      • Eloqua
      • Pardot
      • Mailchimp
    • Events Management
      • Cvent
      • Eventbrite
      • Eventsforce
      • Sync by Email
    • Unified Communications
      • Zoom
      • ON24
    • Video
    • Payments
    • Single Sign-On (SSO)
    • LinkedIn Sign Up Setup
    • API Keys
Powered by GitBook
On this page
  • Auto-formatting of image uploads
  • Image dimensions
  • Replacing images
  1. Publishing

Images

PreviousRSS FeedsNextWidgets

Last updated 11 months ago

Auto-formatting of image uploads

When an image is uploaded, multiple versions are automatically created and formatted in the different dimensions used by hub components.

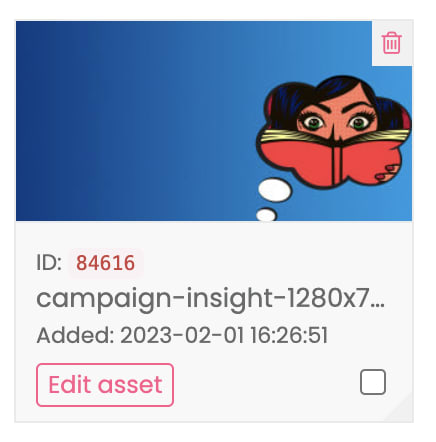
To view all versions of an image, go to Assets > find the image > Edit Asset. From here, it is possible to .

It is recommended to upload images as PNGs with a transparent background in the dimensions 1920x1080px. This is the optimal size for an image to be resized, as anything smaller than this may distort images.

It is not advised to upload images that include text, as the wording can easily become cropped in reformatted versions. Instead, upload text as a separate PNG with transparent background and apply as a layer on top of another image.

Image dimensions

The following table defines the image format, dimensions and the components on which it appears.

Format
Dimensions (px)
Component

Hero

3200 x 800

Banner image at the top of events and channels.

Header

2000 x 350

Displayed at the top of an article

Media

1280 x 720

Displayed in carousels when screens are greater than 601px (laptops); content listing pages when screens are greater than 601px (laptops); and at the top of documents and articles in default layouts.

Square

1000 x 1000

Displayed in carousels when screens are less than 601px (mobiles); and content listing pages when screens are less than 601px (mobiles).

Thumb

640 x 360

The image displayed in listings.

Cover

1920 x 304

Cover image of a Document

Replacing images

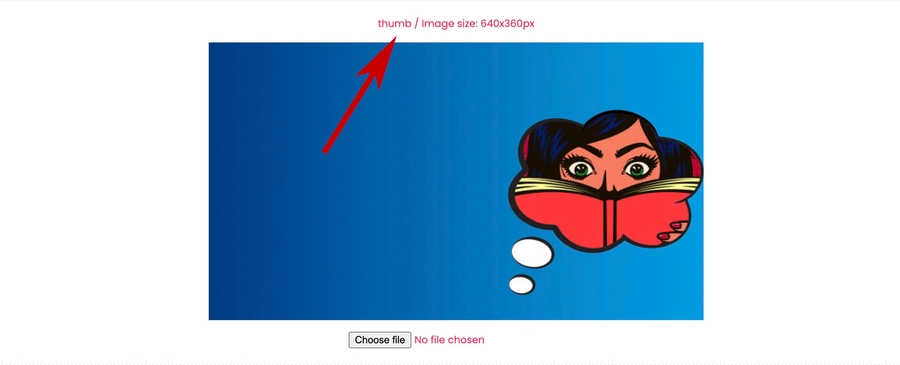
It is advised that the different versions of an image are checked after upload, to confirm the reformatted versions are as required.

Click Update Asset to apply the new image to the hub component.

Go to Assets > find the image > Edit Asset
The format and dimensions are displayed above each image.
To manually replace an image, select ‘Choose file’ and upload your own file.
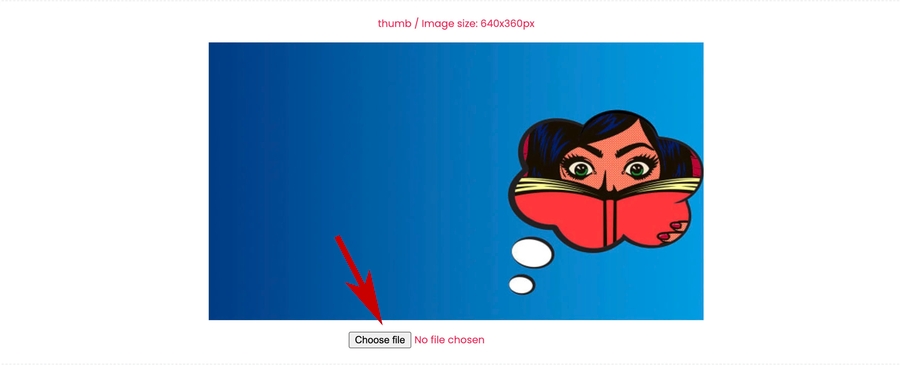
replace an image